From Design to Installation – Learn About the Vehicle Wrap Process
October 16, 2025
A Step-by-Step Look at the Vehicle Wrap Process
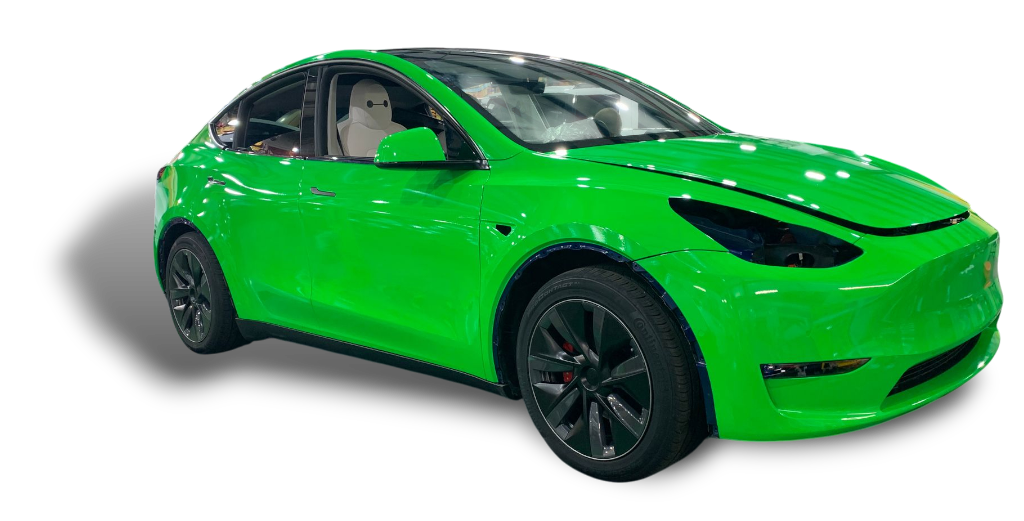
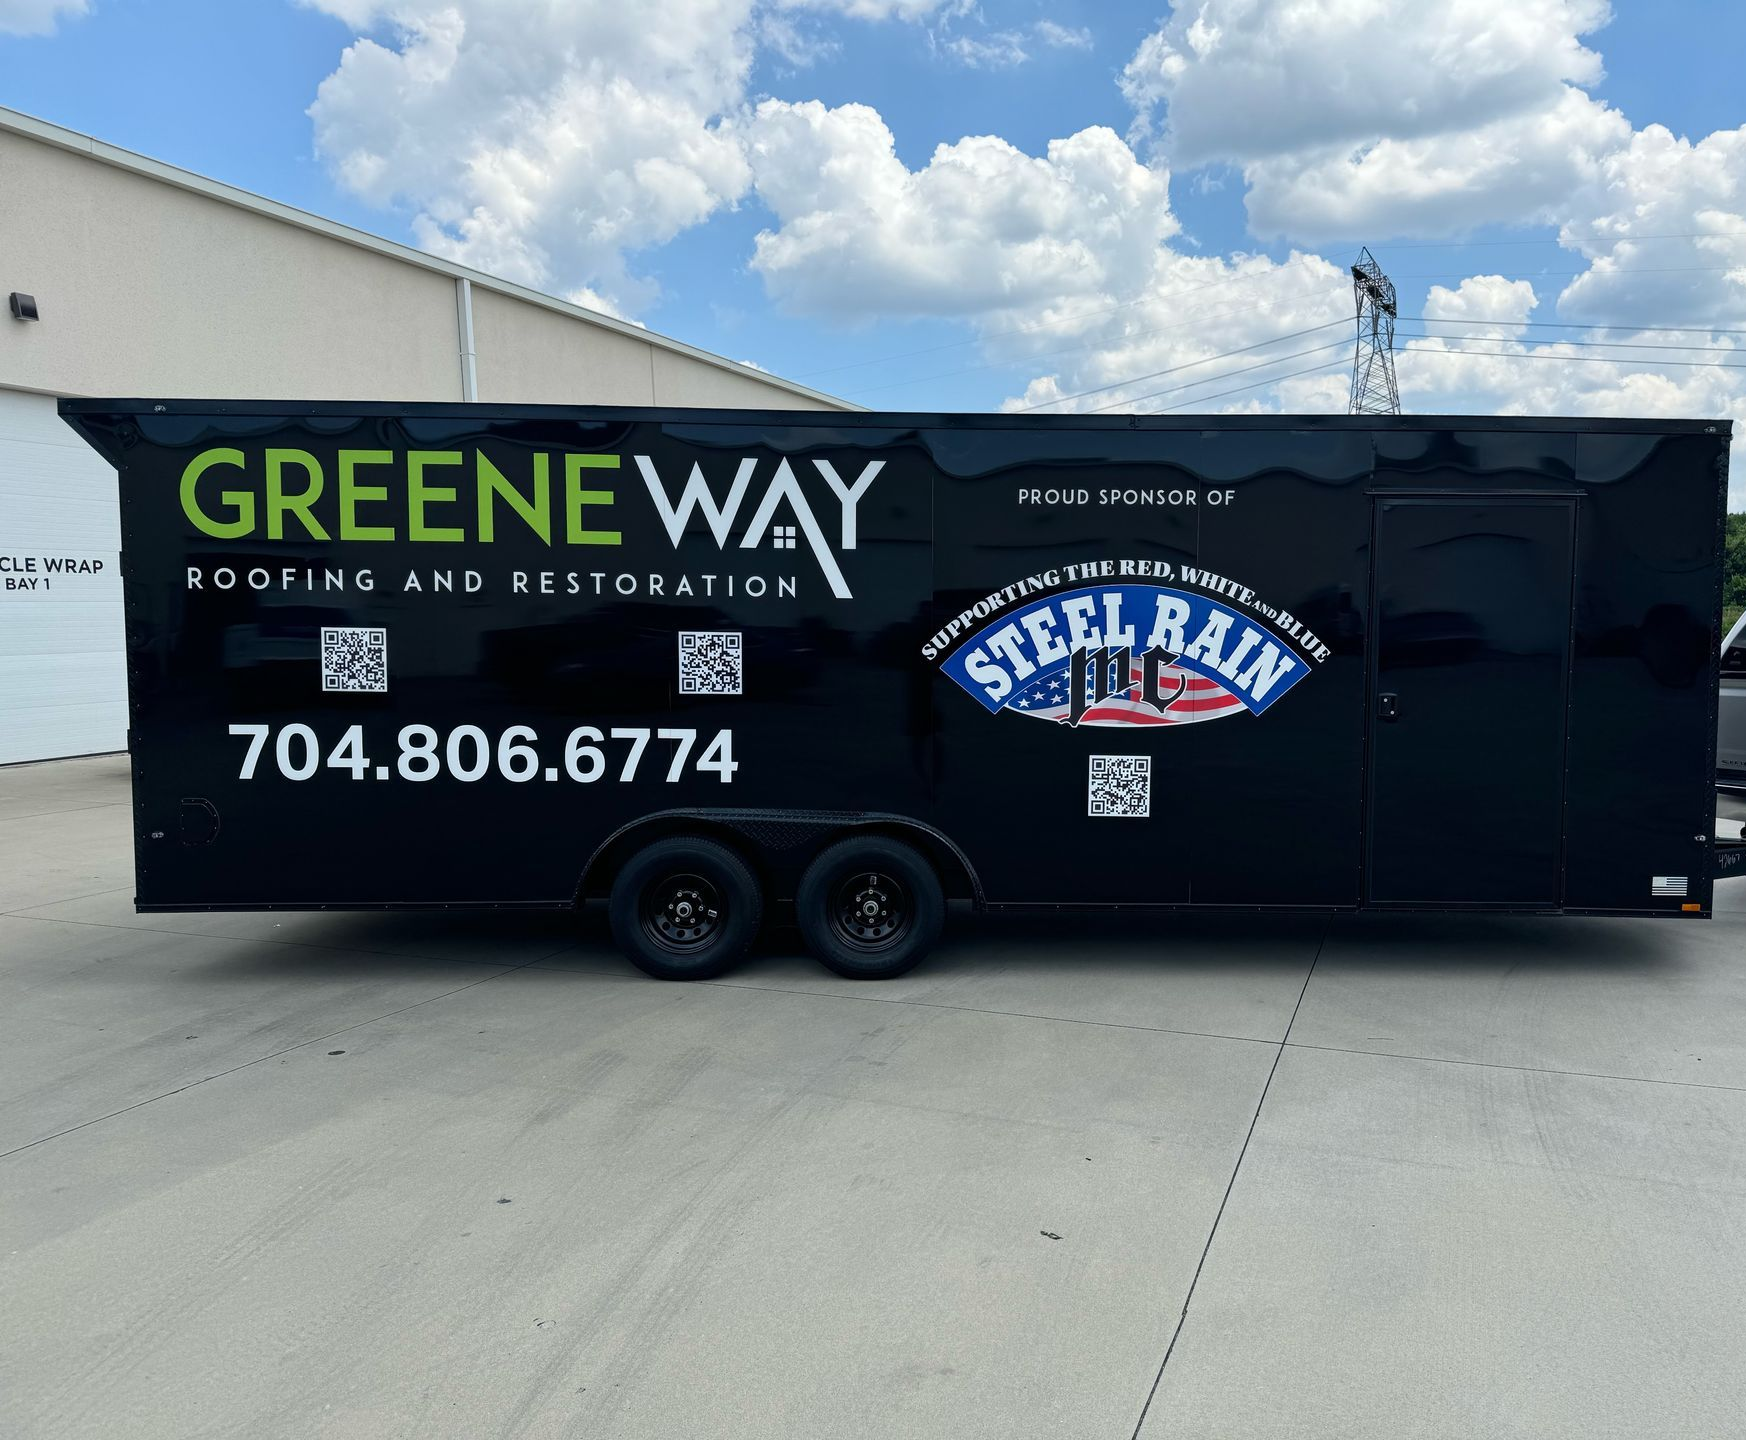
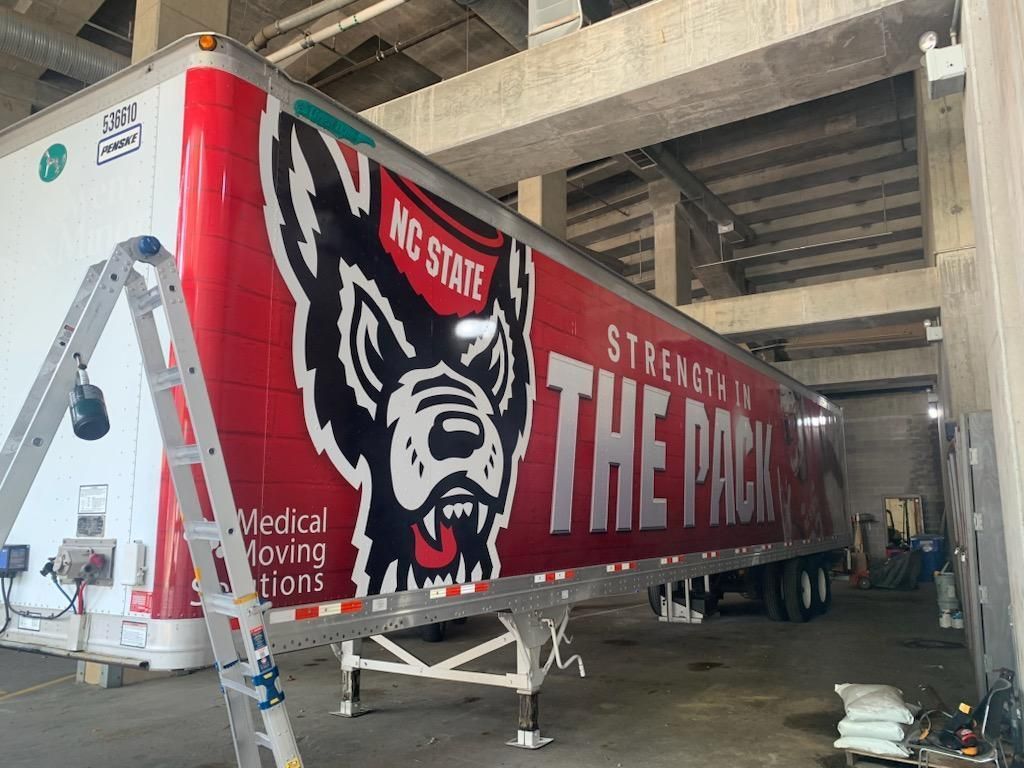
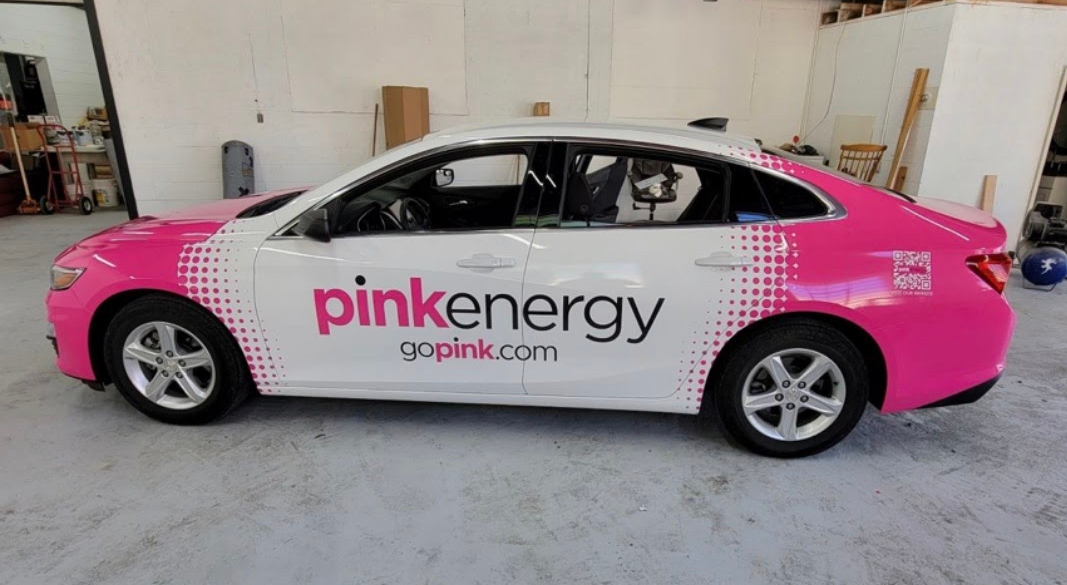
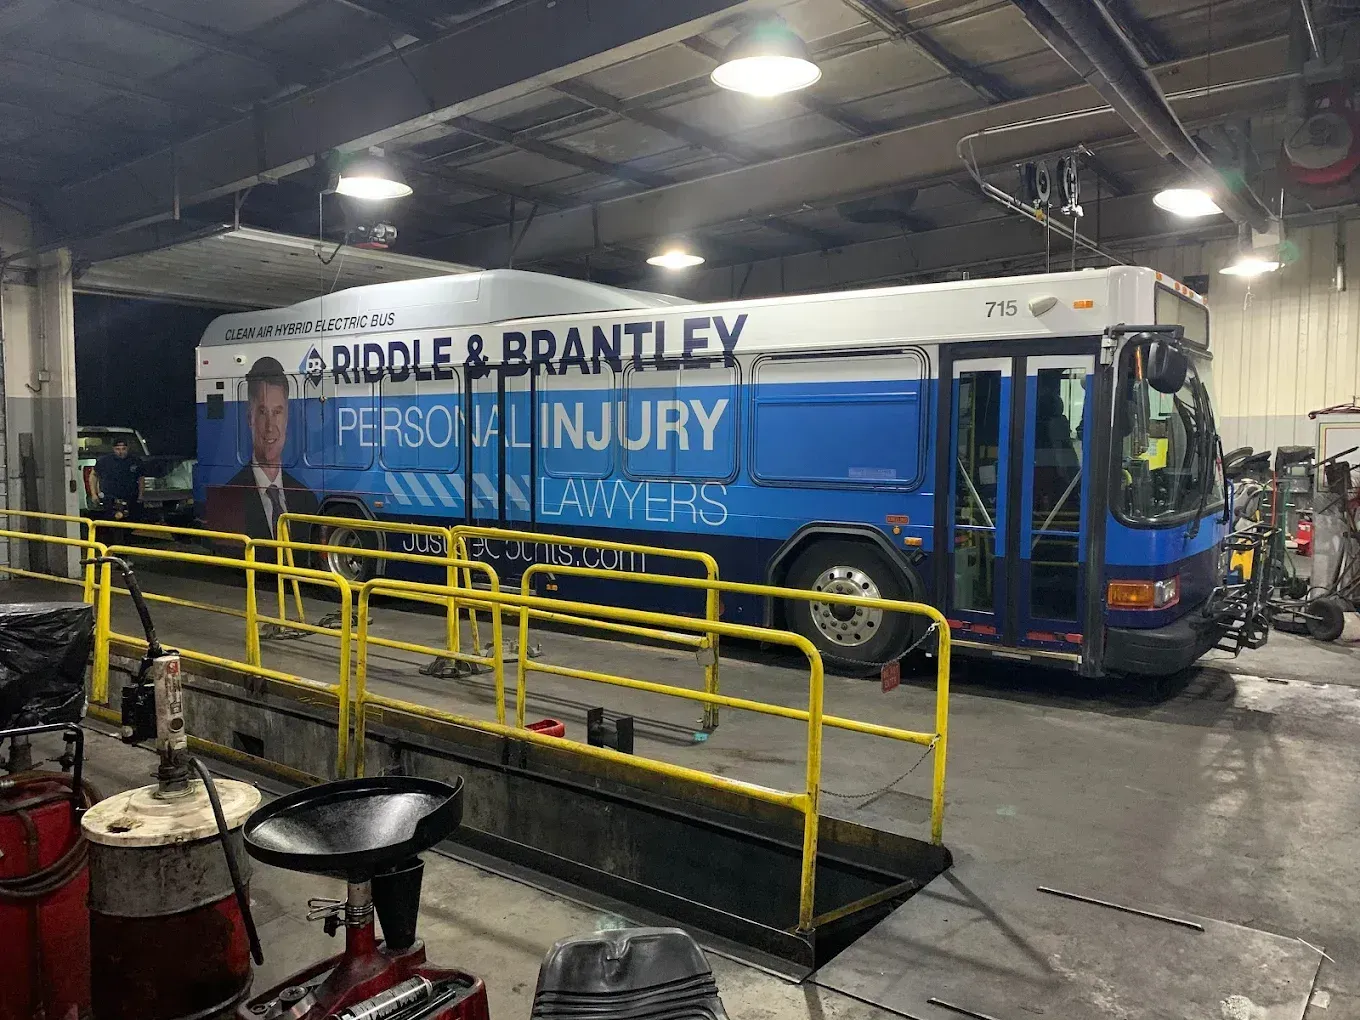
Vehicle wraps have become a popular and effective way for businesses and individuals to turn their vehicles into moving billboards or simply give their cars a fresh, custom look. The process from design to installation involves several steps that ensure a high-quality, durable, and visually stunning result. In this blog, we’ll guide you through each stage of the vehicle wrap process, helping you understand what to expect and how to achieve the best results.
The journey begins with a clear idea of what you want your vehicle wrap to communicate. Whether you’re looking for branding, advertising, or personal customization, the design phase is crucial.
A well-thought-out design is key to a successful vehicle wrap. Ensure it aligns with your brand's identity and personal style, and that it stands out on the road.
Once the design is finalized, the next step is selecting the right materials for your wrap. High-quality vinyl wraps are essential for durability, appearance, and ease of installation.
This phase ensures that the visuals are sharp and resistant to environmental damage, maintaining their impact over time.
Before applying the wrap, your vehicle must be adequately prepared to ensure a smooth and long-lasting application.
Proper preparation minimizes the risk of bubbles, peeling, or lifting after installation, resulting in a flawless finish.
The installation process is both an art and a science. Skilled technicians carefully apply the vinyl to your vehicle, paying close attention to detail.
This process typically takes several hours, depending on the vehicle's size and complexity.
Once installed, the wrap undergoes a thorough inspection to catch any imperfections such as bubbles, wrinkles, or misalignments.
A proper curing process helps the wrap settle and adhere securely, ensuring its longevity.
To keep your vehicle wrap looking its best:
The vehicle wrap process, from design to installation, involves careful planning, high-quality materials, and skilled craftsmanship. When done correctly, it yields a striking visual transformation that can effectively promote your brand or convey your personality. Whether you’re a business owner looking to maximize your advertising or a car enthusiast seeking a unique look, understanding this process helps you appreciate the effort that goes into a professional vehicle wrap.
Ready to transform your vehicle? Start with a clear vision, collaborate with experienced professionals like us, and enjoy the journey from concept to road!
If you are considering a
vehicle wrap
in
Charlotte
,
Raleigh
, NC, or any of the surrounding areas,
contact us
at Certified Install Wraps. Our experts are happy to walk you through the process until all your questions are answered.
Step 1: Concept and Design
- Consultation : Discuss your goals, preferred colors, style, and any specific elements you would like to include.
- Design Mockups : A graphic designer creates digital mockups of the wrap, allowing you to visualize the final look. This often involves reviewing multiple iterations to refine the design.
- Revisions : Based on your feedback, adjustments are made until you’re delighted with the concept.
A well-thought-out design is key to a successful vehicle wrap. Ensure it aligns with your brand's identity and personal style, and that it stands out on the road.
Step 2: Material Selection and Production
- Vinyl Material : Typically, 3M or Avery Dennison vinyl films are used, known for their durability and vivid color reproduction.
- Lamination : A protective laminate layer is applied to shield the print from UV rays, scratches, and weather conditions, extending the lifespan of the wrap.
- Printing : The digital files are sent to a large-format printer, producing precise, vibrant prints ready for installation.
This phase ensures that the visuals are sharp and resistant to environmental damage, maintaining their impact over time.
Step 3: Preparation of the Vehicle
- Cleaning : The vehicle is thoroughly washed to remove dirt, grease, and contaminants.
- Inspection : Any existing damage, rust, or imperfections are repaired.
- Surface Preparation : The surface may be polished or degreased to improve adhesion.
Proper preparation minimizes the risk of bubbles, peeling, or lifting after installation, resulting in a flawless finish.
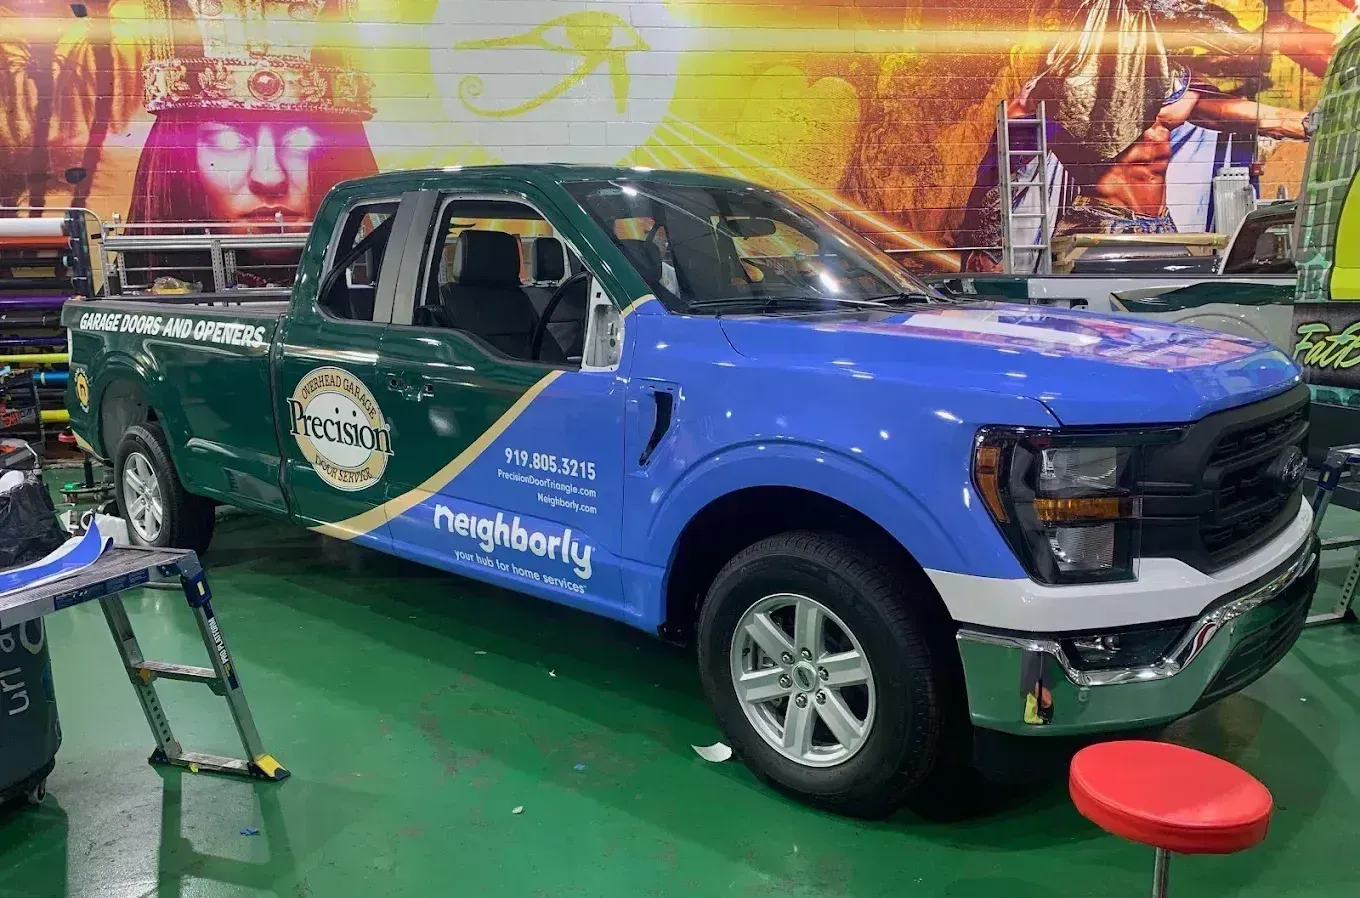
Step 4: Application of the Wrap
- Cutting and Positioning : The vinyl is cut to fit specific vehicle sections and carefully positioned to match the design.
- Applying : Using squeegees and heat, the vinyl is adhered to the surface, smoothing out bubbles and ensuring uniform adhesion.
- Trimming : Excess material is trimmed precisely around edges, windows, and contours.
This process typically takes several hours, depending on the vehicle's size and complexity.
Step 5: Final Inspection and Curing
- Touch-ups : Minor adjustments or re-application are made if necessary.
- Curing Time : Although the vinyl adheres quickly, it requires a specific curing time. It’s recommended to avoid washing the vehicle for at least 48 hours to allow complete curing.
A proper curing process helps the wrap settle and adhere securely, ensuring its longevity.
Tips for Maintaining Your Vehicle Wrap
- Wash by hand using gentle cleaning solutions.
- Avoid high-pressure washers directly on edges.
- Park in shaded areas to prevent UV damage.
- Address any damage or lifting promptly by consulting professionals.
The vehicle wrap process, from design to installation, involves careful planning, high-quality materials, and skilled craftsmanship. When done correctly, it yields a striking visual transformation that can effectively promote your brand or convey your personality. Whether you’re a business owner looking to maximize your advertising or a car enthusiast seeking a unique look, understanding this process helps you appreciate the effort that goes into a professional vehicle wrap.
Ready to transform your vehicle? Start with a clear vision, collaborate with experienced professionals like us, and enjoy the journey from concept to road!
Are You Considering a Vehicle Wrap in the Charlotte, NC Area?
Learn whether vehicle wraps are tax deductible for businesses and what owners should know before wrapping company vehicles, trucks, or fleets.
Learn how landscaping trailer wraps can turn your equipment into mobile advertising, helping your business stand out, build trust, and attract more local customers.
Learn how custom vinyl graphics help schools boost visibility, strengthen branding, and create lasting school pride across campus every day.
Learn the differences between full and partial vehicle wraps, including costs, visibility, and ROI, to choose the best option for your brand.
Learn how window graphics capture attention, promote offers, and turn passersby into customers by creating strong first impressions for your storefront.
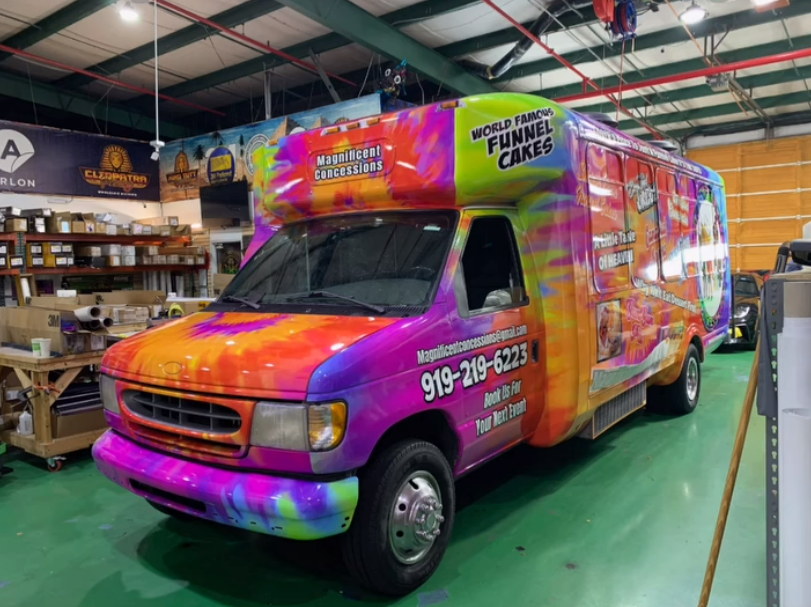
Learn what to expect when getting a bus wrap, including steps, timelines, costs, and maintenance expectations for a smooth project.
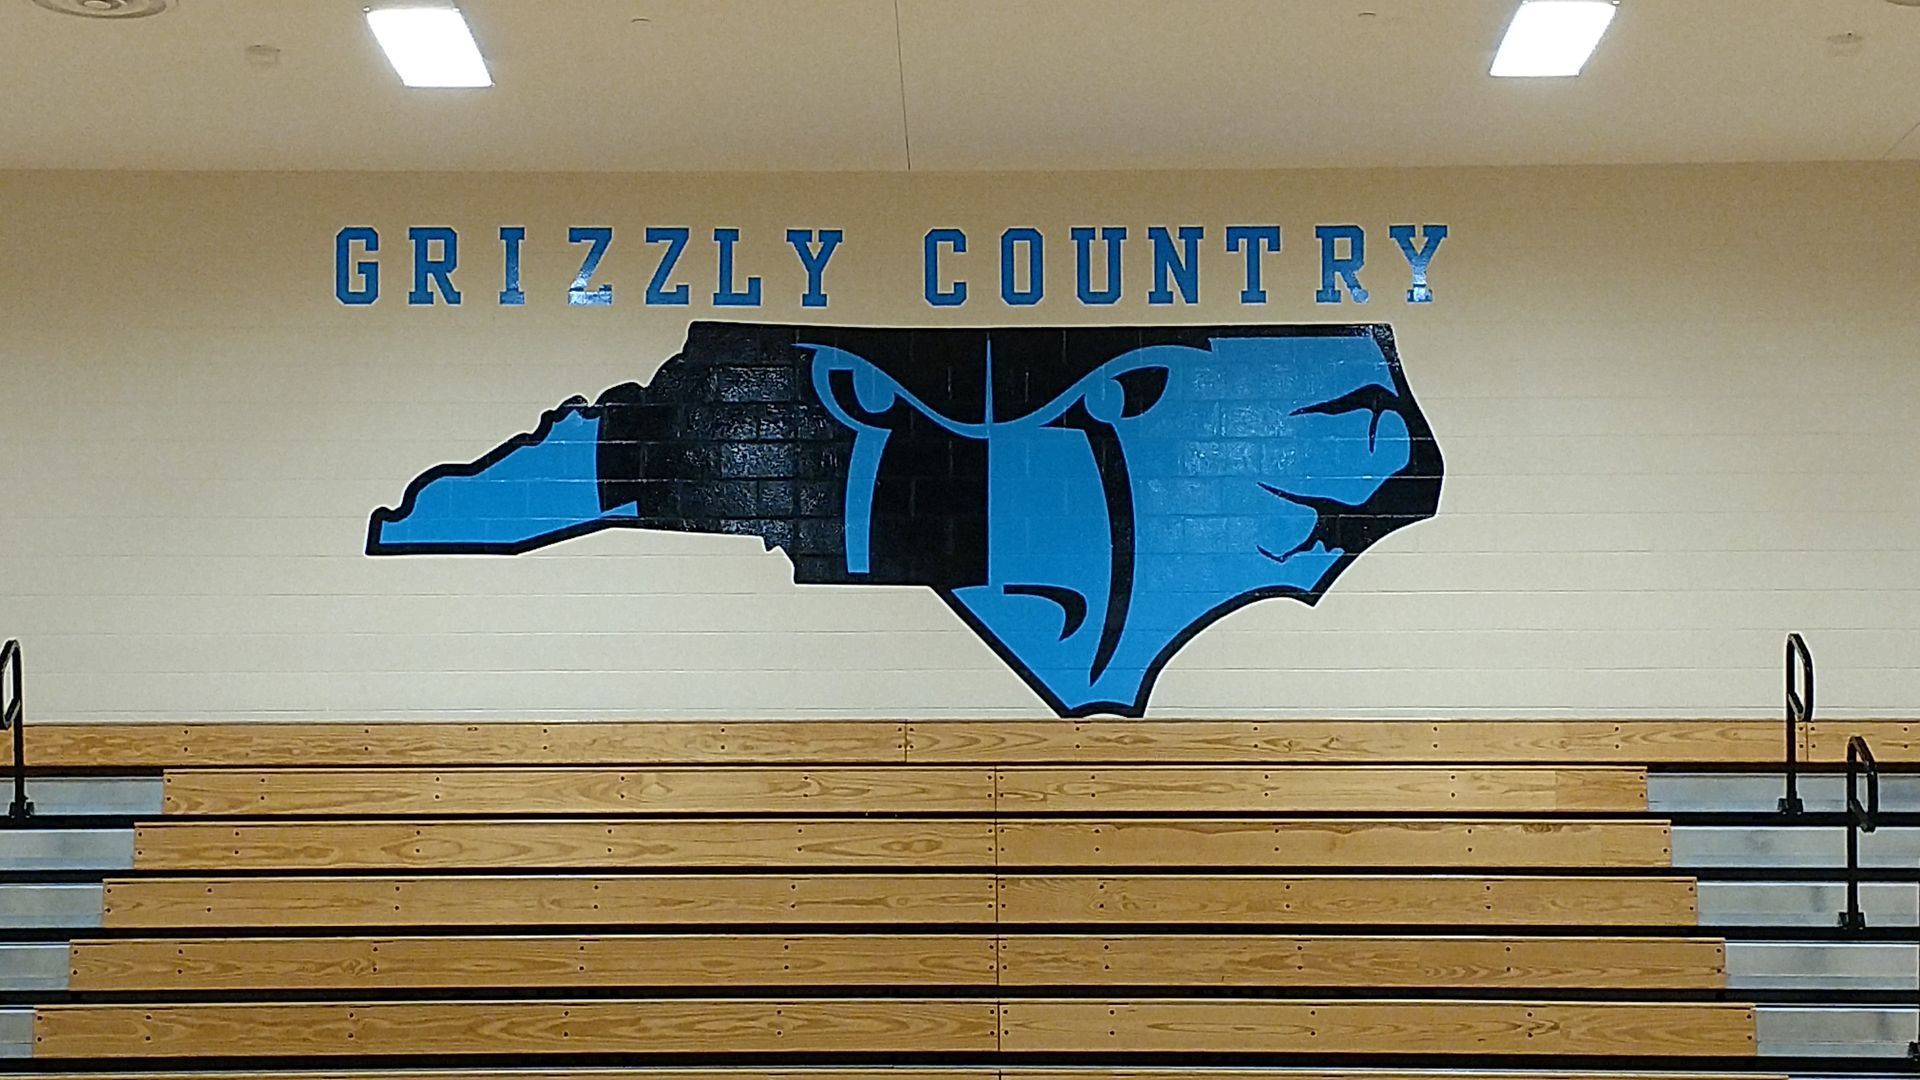
Learn how vinyl graphics offer a durable, cost-effective, and customizable way to enhance educational spaces and brand identity.
Learn 5 helpful tips to protect and maintain your vehicle wrap during North Carolina’s cold winter months.
Learn how professionals safely remove a vehicle vinyl wrap to protect your paint, avoid damage, and ensure a clean finish.

Learn how custom floor and wall graphics can enhance your business space, improve customer experience, and boost brand visibility.